Showing posts with label decorating. Show all posts

My first wreath

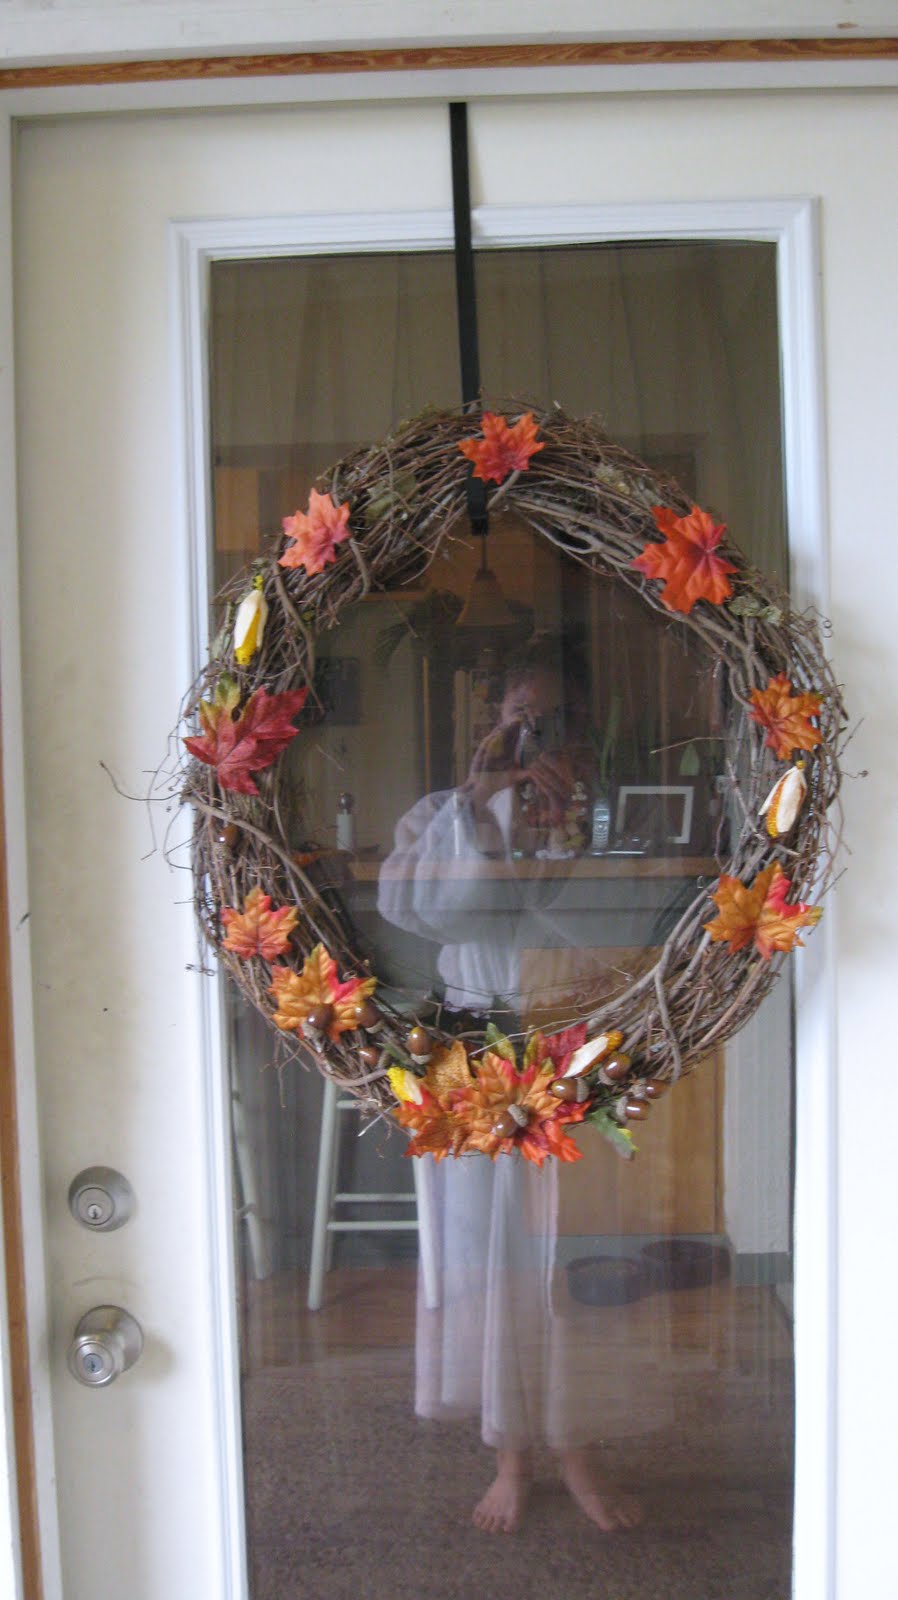
I feel like I have completely given in! I deliberately do without wreaths at our house. I'm not sure what it is, but they look cluttery and cliche to me. I've seen them in just about every shape/style/size and I just can't help it! Fake flowers and junk glued to a base and thrown up on a wall is just not my favorite.

Even though I'm not in love with my wreath, I am excited to have it hanging from our door! Wreaths are fun because they're very easy to make and add so much to a festive house! I'm all about the holiday decorating.


Creepy reflection!
{hi guys! don't you craft in your robe?}

Driftwood Sconces

When I posted our house list last, I noted something about staying tuned for the sconces for the bathroom. We just finished them last night and I am thrilled with how they turned out!!

The idea started on a sunny 1/2 day off. Jeremy and I decided to work no later than 2 o'clock and spend the rest of the day at the beach.We were enjoying each other, the weather, the ocean... when we happily stumbled upon this piece of driftwood:Immediately my wheels started spinning and I knew that we had to take this puppy home to repurpose into something awesome... And what's more awesome than finding something awesome and turning it into something awesomer, for free?? And so began it's final trek to becoming sconces for our bathroom:

First, we chopped the driftwood in half and squared off the back so it would fit flush to the wall:
Then, we cut out an approximate 90 degree angle, just enough for a tea light candle to rest on:
(sorry for such dark pictures, it was a little late when we were finishing this project!)
Then, Jeremy drilled a hole big enough for the tea light to rest in and I lacquered them:
EEk! And now look! I absolutely love them!

Bedroom Decor, Check!

My poor bedroom has been the object of neglect for two years. We've painted it, built a closet in it, half-heartedly hung some below parr decorations in it, along with some wood blinds to replace the drapes that came with the house. Beyond that, nothing. How sad! Thankfully I included our bedroom in our checklist and went to work to decorate the poor thing. Here's the transformation process in action:

We started with this... (don't judge)

I designed an eclectic wall mural, of sorts, collection of things-whatever you want to call it- that included things we loved. I designed it to wrap from that window on the left to a window on the right. I started by repurposing some things, painting things, assembling, making from scratch, etc. to get a large pool of things to pull from in the making of this design.

Here are the letters l-o-v-e that I stenciled onto wood from our scrap wood pile. Jeremy cut them out and I painted them

I painted frames that were for art that used to go in our old office. They were actually pictures that were in our "Goodwill pile." I took out the old pictures, painted the frames and popped in some unframed wedding pictures that have been stored for years.
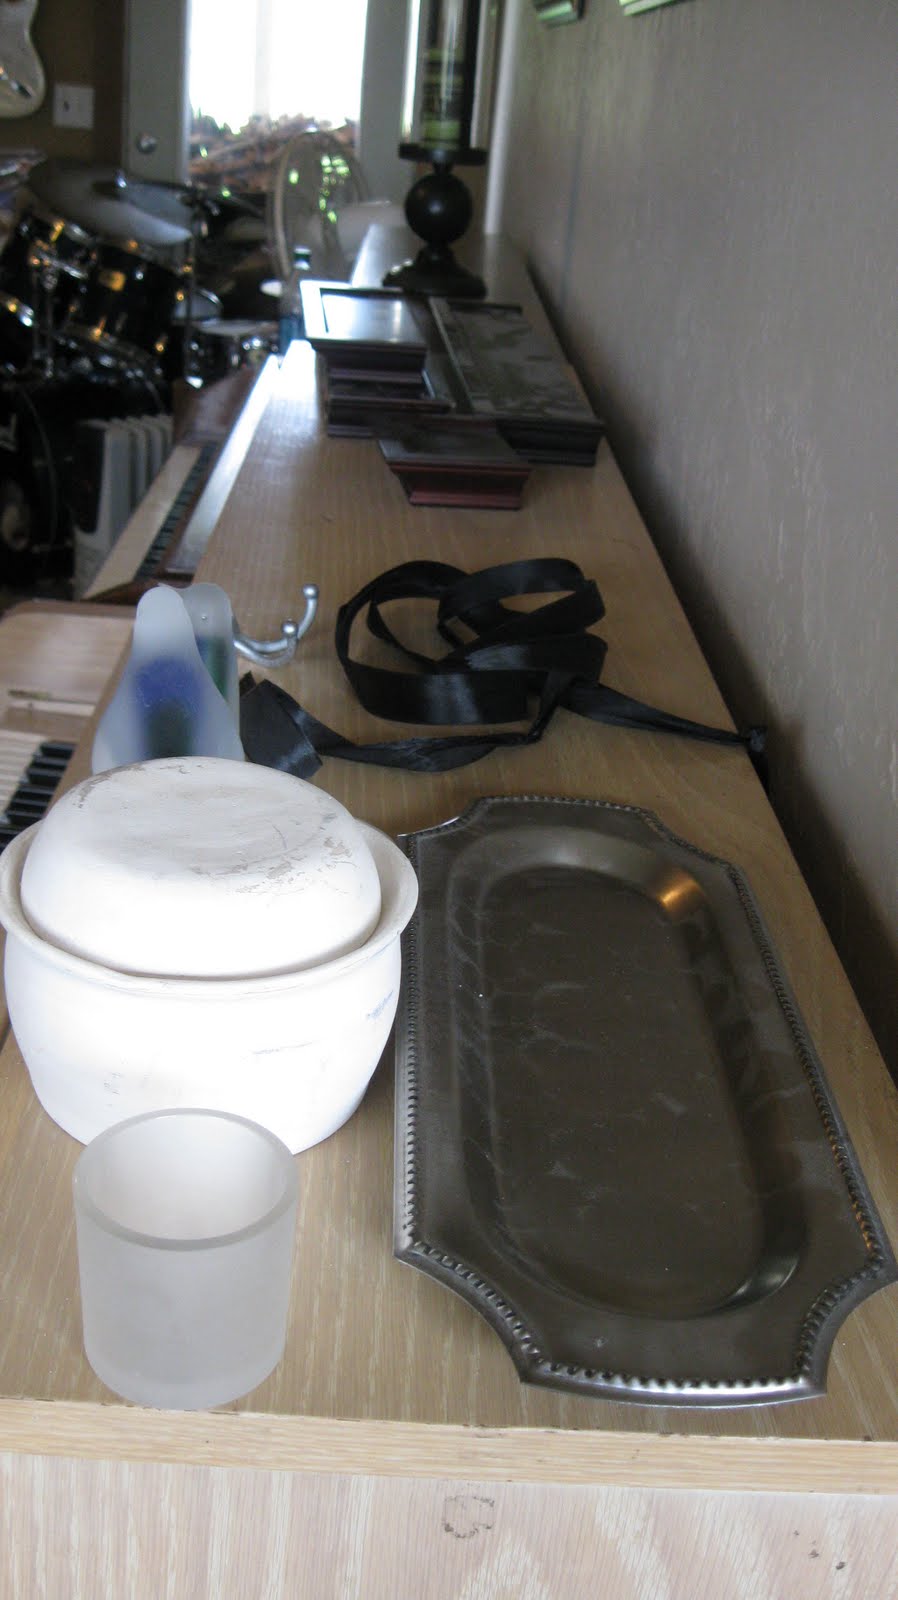
Here is the start of my collection of things I had planned to paint and use in the design

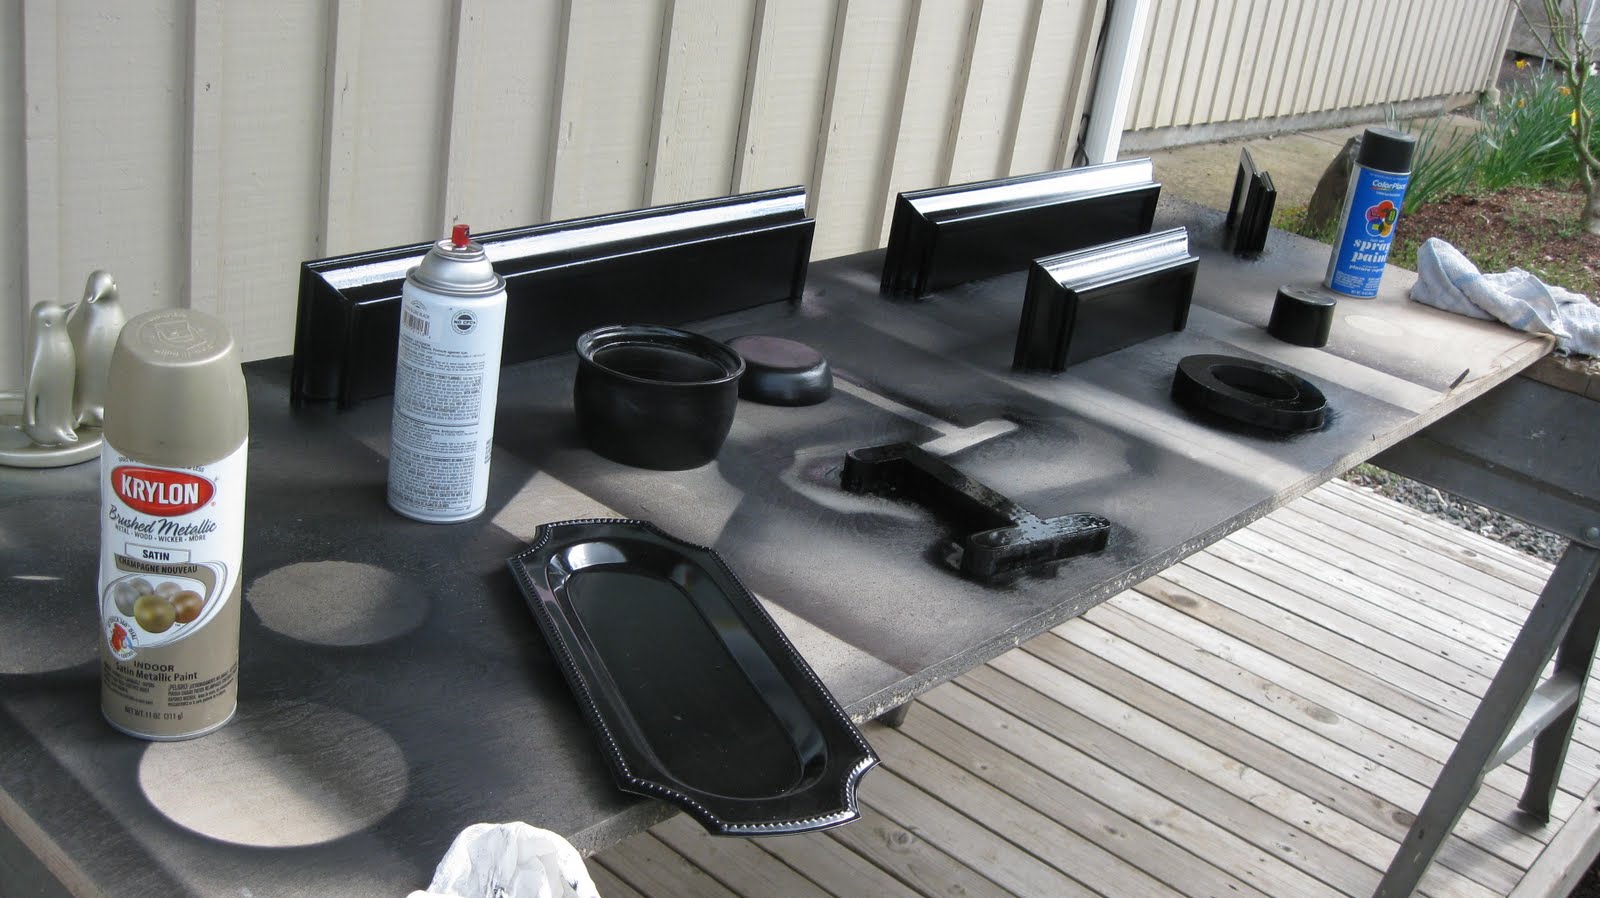
Here are some of the decorations getting their either black or gold spray paint bath
Once everything was painted/repurposed/tinkered with, I arranged them on the floor to make sure everything would fit in the space I had planned for them on the wall. To make the hanging easy I just measured and drew guidelines on the wall so I knew exactly how high and how low the design could go.
And here's what it looks like on the wall:
Other gold/black decorations in the room:
Before:After:I was also able to check the "add height to the corner" item off of our list by moving those candle sticks from our living room into our room.

This whole project grand total: free.

We used things that we had and painted them with paint that we had. Gotta love that!


I'm done now.. seriously this time

I'm not sure why I ended up posting about being ok with something being unfinished. I should have known that as soon as I did something like that, it would be impossible to discontinue the list of left "to-do's". Subsequently, I've got another project to share with you! A grand finale of decorations for the wall, above the tv. Priorities, right?

I started by taking the pictures out of this frame, a frame that was definitely one of those iamjustnowlivingonmyownandhavenoideawhatimdoingwithdecorations
butamquicktopurchasethisbecauseitmakesmefeelmorelikeanadult
impulse purchases.


I knew I was going to make my own frames for them so instead of getting glass cut for me for each size frame I decided to laminate the picture to protect them with our laminator that I just had to have as an office "essential". It was so darn essential, that it hasn't been used until this project. See how essential it was for this, though?
Once the pictures were laminated and cut out, Jeremy cut out 8 frames sizes 4x6, 4x4 and 3x3.

I used a thick/spongy mat board as backing for the pictures and literally stapled the laminated pictures to it.

Then hot glued the pictures to the frames after the frames were painted brown

I also ordered some circular mirrors from Target.com (around 20 bucks), arranged them on the wall and hung the pictures I put together by ribbon that I hot glued onto the frame.

Seriously-hot glue guns and paint go a long way!

And here we are!

I clearly need to clean the mirrors and can't end without thanking my friend Josie for helping me today! So, seriously.. Now I think I'm done with this room.... for now.

Another Guest Room Face Lift

Every 3 or 4 days I have a load of strictly to-be-air-dried clothes and have only space in the guest bedroom closet to do so. As I was in there hanging wet laundry I couldn't help but be annoyed at how bright the room is! The bedding, the walls, the furniture we made.. all off colors of white. And I know that I was supposed to accept that the room wasn't complete but... I didn't

I started off with a small project. I used some scrap matting from a craft store and bought some wooden letters, painted them and measured them to fit evenly on the matting.

Jeremy built a frame and I painted it brown. I love it above our guest bedroom closet.
(Not nearly as much as I will love to have trim around the closet doors, but we'll cross that road some day)

The story behind the next project is fun. Jeremy's dad and his wife just bought a new house and have joined their things. In the process of joining there has also been purging. Jeremy and I, along with the rest of the kids, have gotten the opportunity to rummage through things and bring found treasures home with us. This tray we found and was Jeremy's grandmothers'. It has a really cool picture in the wood that matched the style in the bedroom perfectly.

I sanded it down and roughed up the picture on the face
of the tray and painted it brown.

Here's the picture from my last post that Jeremy
built a frame for out of trim. Clever boy!


The collective effort of the projects makes the room look so
much cozier and much less starchy and stuffy.


It's Craft Corner Time!

Want to learn how to make this?

First you'll need these:


And a little bit of this
And you'll get this!

I need to spray all of the little pieces of paper down and clean up the strings from the hot glue gun and will probably be framing it with a homemade frame and paint chocolate brown.
Other than that though,
I'm in love!

An Exception to Completion

The guest bedroom is finally complete with it's decorations and furniture. I'm sure we'll be adding to it here and there with theme appropriate doo-dads in the future and will be most certainly doing the finish work on the room (at the moment it is without base boards/new closet/new window/new closet doors/etc) but for now we're happy with the foundation we've set.

I love the collaborative effort of things that we've purchased-both bargain and expensive-and things that we repurposed and things that we totally made from scratch. It's been a fun to theme out a room with the challenge of keeping the color scheme similar to the rest of the house eliminating the risk of it looking like the crazy room that doesn't fit! I'm happy to let our guests sleep in this room, for now. And for now, it can be our room that's basically complete with the exception of a few things. Our exception to completion.

Furniture Finale

We've completed our table contribution to our guest bedroom with 2 bed side tables and a foot of the bed TV table. I am so happy with how these tables have turned out and loved every minute of creating them from start to finish with J. I love that this table is the TV table and has yet to have a TV or a DVD player for it's designated shelf. Details, details.. right? We have one final thing to make for this bedroom. We'll see how it turns out before I tell you what it is.These are some of the decorations in this room that I've made and put together. I had the vases for awhile but they were quite formal for the look I was going for in the space. So, to create a far more casual look I decided to use natural elements in them. For example filling the space in them with dark brown coffee beans (which have made the room smell divine) and painted some of our favorite bible verses on some cut out round wood. They'll look complete on the table once we've got a TV on there!