Showing posts with label diy. Show all posts

Tricky Treats

Every self proclaimed (and professional) cook has a couple of random and unexpected frustrations in the kitchen. The chefs that I work with surprise me with their soft boiled egg or perfectly shaped cookie setbacks. Super simple dishes, right? And for professional chefs? What kind of restaurant does this girl run, anyway? If you're in the kitchen at all, you know exactly what I'm talking about. Don't fret, even the pro's experience these simple dish vexations. Oddly, candied nuts and home made hash browns have been my personal tricky treats. However, I am very proud to say that I may have mastered the trick to these treats!

For perfect hash browns:
1. Peel and grate desired amount of potatoes, I normally do about 4 for Jeremy and I  (brown, red, sweet all work)
2. Put grated potatoes into a bowl of cold water, wait until the water is very cloudy (approx 7 mins)
3. Strain grated potatoes, really well
4. Repeat 3 times, maybe more depending on how starchy your potatoes are, until the water is fairly clear with the grated potatoes in it
5. Strain potatoes extremely well (I normally let it sit in the strainer for 20 or so mins to drain as much water as possible)
6. Pour all of the grated potatoes on to a kitchen towel and pat dry, the dryer the better
7. Heat a large skillet with 1 tbsp of butter (for 4 potatoes), 1 tbsp of minced garlic and enough olive oil to lightly fill the bottom of the pan.
8. Once the butter is melted and you can smell the garlic, transfer the grated potatoes to the pan, sprinkle whatever seasoning you would like and leave until the pan side is browned, flip, done!

And for delish candied nuts:

1. Boil raw nuts until soft- 15/20 mins ish (pictured below: about 1 lb of whole/raw walnuts)
 2. Strain the nuts and immediately transfer to a boil of white sugar, brown sugar, cinnamon, and I add a pinch of chili powder. Coat every nut completely by tossing them in the sugar mixture. (Tip: save the nut water to make a yummy gravy with to pour over chicken or any protein later on)
 3. Preheat oven to 400 degrees. Transfer coated nuts to a lined baking sheet. Bake for 20 or so minutes, you'll know when they're done when the sugar stops boiling and starts caramelizing; sticking to the nuts.
 4. Let the nuts sit for just a few minutes and transfer into a bowl. You don't want them to completely harden on the wax paper, unless you eat wax paper intentionally as a supplement for some sort of fiber deficiency...
And there you have it! Enjoy and good luck conquering  your personal tricky treats!

Summer bucket list...

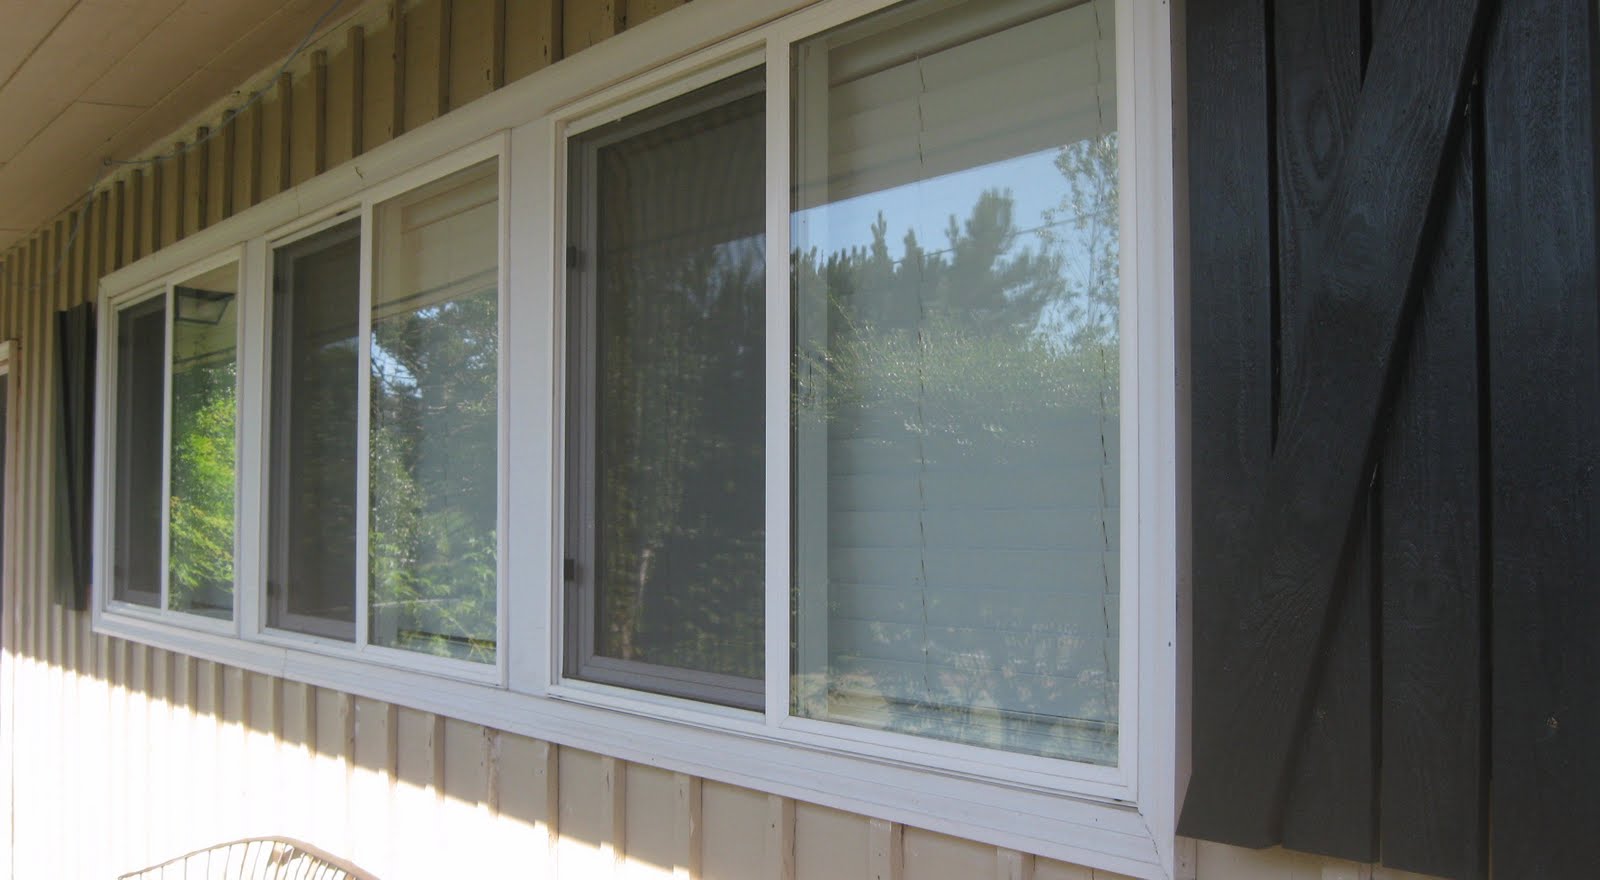
... errrr, Winter bucket list? It's always a little hilarious to me when I set a date or time frame for home renovations. Projects always take longer than expected. We always have busier schedules than anticipated. And on and on. My personal struggle with being very type A has eased considerably and I'm pleasantly content with any sort of progress being made. A couple of weekends ago, Jeremy and I FINALLY got a couple of coats of paint on the house! We've been preparing for paint since June, how crazy is that?? All of our windows are installed and trimmed out. We ordered/assembled and installed the new front door. We finished our roofing and installed all of the flashing. All of the fascia has been scraped and primed. Holes have been filled, all of the scraping, priming, pressure washing, random hardware removing, caulking, etc is totally done. Now, we are waiting for the weather to improve to finish the following:

-Prime/paint office exterior door and trim
- 3rd coat- front/sides fascia
- 1st/2nd/3rd coat back fascia
- Paint exterior doors: office, shop, kitchen, second office door
- Stain front door

We were so lucky to have had a couple of extra hands on the second day of painting and were left with very little to complete.

We also completed a third set of shutters. Now every window have shutters in the front of the house.

 On the left is the door when we first installed it. Since, I ordered Baldwin door hardware and a dentil shelf. Eventually the door will be stained a deep red and the front porch will match.
 The top is the after view. I love how the gray hue accentuates the ranch style house and the beautiful white trim around our brand new windows. The shutters are such a great touch. *pats self on the back
 Pretty great, right?


Pinterest Beauty Projects

You've probably noticed that this isn't the first Pinterest related post of mine. I've become increasingly obsessed with testing out recipes, DIY projects, beauty recipes, etc that I've created boards for.It's embarrassing to admit that my OCD is so extreme that I consider my boards a to-do list of sorts and it drives me insane to think that there is a list of mine existing out there without a check mark... So, in light of that fact, this won't be the last Pinterest project post :)

Last week, Jeremy and I spent an evening going through my beauty board and checking off some DIY beauty recipes. I totally had to beg him to join me but evidently enjoyed himself! 

Below are the links to the beauty recipes that we tested out that night. I was blown away (seriously) at how well they all worked.

Blackhead Remover

Silky Legs

Super Soft and Relaxed Feet

Lip Scrub

Dr. Oz's Flawless Skin Recipe


Happy Pinning!

Pinterest Project Day

If you've been living under a rock and aren't familiar or haven't heard of Pinterest, let me hesitate to tell you how amazing it is. What's with the hesitation? Well, it can quickly become an addiction and consume far too much of your time. From recipes to DIY projects, I am basically allowed to turn my brain off and let Pinterest do the creative thinking for me. Which I love.

Follow along with me as I guide you through 7 hours worth of projects that I completed on a busy day off:

Here is the bar full of supplies to complete my projects:
 1. If you microwave a bowl half full of water and half full of vinegar for 5 minutes it'll loosen the stuck on yuck and wipes clean with ease
 2. Washing your shower head with a ziploc full of vinegar and baking soda. I didn't love this one. I suppose if I had a small shower head and a way for the mixture to cover the head entirely, it would have worked better.

- However I did use a tub scrub recipe from Martha Stewart (peppermint essential oil, baking soda, Dawn soap and enough water to make it a paste) that I'm obsessed with. It worked really well with hardly any scrubbing.
 3. Using an adjustable rod to hang squirt bottles: this works really well! Make sure you measure where you intend on putting the rod before you buy, also don't go cheapy with the rod otherwise it won't hold heavy/full bottles.
 4. Using a shoe storage system on the back of a utility/coat closet/etc door to organize cleaners
 5. I made vinegar water cleaner for the first time (whaaa?!), home made carpet powder (baking soda, borax, essential oils) and a candle wrapped in cinnamon sticks (when it's warm the house smells like Fall mmmmm:) and used a recipe to "clean" old metal pans... didn't work.
 6. I seriously organized our fridge with a new shelf, pull out bins and a lazy susan
 7. I sewed old doilies together to make a Fall friendly table runner
 8. In the summer months, our fireplace looks so sad. I saw this idea on Pinterest using logs that were cut at different heights and vases/candles. It's beautiful at night when it's all lit up
 9. I found these metal containers with magnets on the back to store all of our commonly used spices and used the label maker to label and store right on the front of the fridge. When these are empty, I'm going to use the containers for home made seasonings.
 10. I also stole this idea: I used a double sided picture frame, one side says "I love you because..." and the other side is to be filled in with a dry erase marker. When Jeremy writes a note for me, he leaves it on my bed side table and vice versa.
I did all of this on Monday and on a Wednesday, I'm still exhausted :) Happy pinning!

Projects: chevron inspired and nesting baskets

 Hello all! I realize that my blogging has turned into a consistent inconsistency. I do have several projects and vacations, etc to share. Be prepared, this might be a bomb of blog posts kind of day or two.

Until December, we had nothing to hide the wires hanging from the TV, and that bugged me. And, until recently we had nothing around the TV. Just a blank wall. With a big TV. That, also, bugged me. I had different intentions for the space around the TV then what we ended up with but as with most DIY projects, I switched gears mid project because: a. I can and b. my original thought was not working once it came to life.

For above the TV, Jeremy and I built a large 64" x 11" Chevron inspired wall hanging out of Cedar 1x4's and used old stain from countless past projects alternating boards or even splitting one board with a lighter stain on one side and darker on the other. The trick was to be as random and non uniform as possible. Even with the sanding.

To the right and the left of the TV needed something also. I have been looking forward to pulling the trigger on some non-authentic African style nesting baskets off of Amazon (shameful, I know... there are many wonderful websites that sell authentic African woven baskets by men and women in Uganda and Kenya... they were just a little spendier than what I was looking to spend) UNTIL! I found this link on Pinterest for home made nesting baskets.

The gals at Two Girls Being Crafty explain this process very well with step by step instructions. The only thing that I would add is make sure your patience level is at an all time high because the process of Mod Podge-ing and swirling the hemp (or whatever material you use) can be quite frustrating. Be liberal with the Mod Podge (it dries clear). And don't remove the bowl off of the bowl mold for a day or two, to make sure that it's totally dry and doesn't lose it's shape. I also sprayed mine with a clear sealant.

And finally, below is the product of the craftiness. I love how the snake plants and white elephants subtly add to the African theme in our living room.


No sew and Knitting

I saw this knitted scarf on Pinterest a month or so ago and fell in love. I love to knit (an art taught to me by my hubby :) when I can so instead of trying to find where to buy it, I figured out a way to make it. So much better!
This next project is for one of my best friends in the world, Kimmie. Kimmie is a beauty queen, a wonderful friend, hilarious, jack of all trades, Godly, committed and engaged to a handsome Navy man named James. I was asked to be her maid of honor for her February wedding. Of course, I shrilled an excited "YES!" As a maid of honor duty I am planning the bachelorette party and bridal shower. Her and I are equally un-thrilled with the selection of trashy bachelorette party gear that is sold on shelves these days, so away with the home made I go! Here's my first project:A Navy themed bachelorette party sash! She's a pageant girl so, rocking a cheesy/trashy sash would be below par. The best part about this project was it was all done with Liquid Stitch and Fray Check. A no sew project makes this girl a happy camper!
Here's how I did the anchor:

I drew an anchor on paper and cut it out. I then, traced around the anchor with a Sharpie and cut it out.
Then, I did the same tracing technique (but larger) in white lace. Next, I used Fray Check around the edges of both anchor and used Liquid Stitch to glue them together to then glue on to the sash.
DONE!

I can't wait for her to try it on!

KIMMER!!
I love you so much and am so happy for all of your successes in life and for your happiness. You have had an amazing journey of ups and downs that were so worth what you've been blessed with in the end. I'm rooting for you and will always be on your team. You are like a sister and I promise to not cry the ENTIRE day of your wedding. maybe.


Guest bedroom closet

ie: my mom's closet

Here is the closet before:

After:We took out the carpet and built a new closet system and I got some baskets for storage. We'll paint it after my mom leaves, more than likely. We have way too much to do, to paint it!

We are getting so close to getting everything done, I can't believe my mom will be here in about a week! We may be inhaling paint fumes once her plain lands, though...

Home made shutters

I was inspired to do these shutters after a scenic drive around Eugene and its surrounding areas. I saw similar shutters on a house that didn't match the style, but knew they would look incredible on our ranch-ish style house.

Here's a poorly documented how to:

You can see the brace's in that we attached the cedar boards to:
(extremely important for strength, you know, to withstand elements and natural disasters, etc)
Kidding. Also, for strength we used nails and wood glue.
Using 1x4 cedar fence boards we went to work:
The size of your shutters will wholly depend on how big your windows are. We measured ours to fit our window (shutter dimensions: 15x36) Each individual shutter measured 4 fence boards across with a 1/4" gap in between.
Once the diagonal piece was assembled onto the shutters, I waited for the glue to dry, primed and painted them the color that our trim will be when we re-paint the house.Office window before: After:Kitchen window before:

After:
These shutters bring excitement for so many reasons! 1. We are able to cross another thing off of our list, 2. they make the house look stinking rad and 3. by choosing the color for the shutters, we have also chosen our trim color...

KACHING!

Driftwood Sconces

When I posted our house list last, I noted something about staying tuned for the sconces for the bathroom. We just finished them last night and I am thrilled with how they turned out!!

The idea started on a sunny 1/2 day off. Jeremy and I decided to work no later than 2 o'clock and spend the rest of the day at the beach.We were enjoying each other, the weather, the ocean... when we happily stumbled upon this piece of driftwood:Immediately my wheels started spinning and I knew that we had to take this puppy home to repurpose into something awesome... And what's more awesome than finding something awesome and turning it into something awesomer, for free?? And so began it's final trek to becoming sconces for our bathroom:

First, we chopped the driftwood in half and squared off the back so it would fit flush to the wall:
Then, we cut out an approximate 90 degree angle, just enough for a tea light candle to rest on:
(sorry for such dark pictures, it was a little late when we were finishing this project!)
Then, Jeremy drilled a hole big enough for the tea light to rest in and I lacquered them:
EEk! And now look! I absolutely love them!

Garden

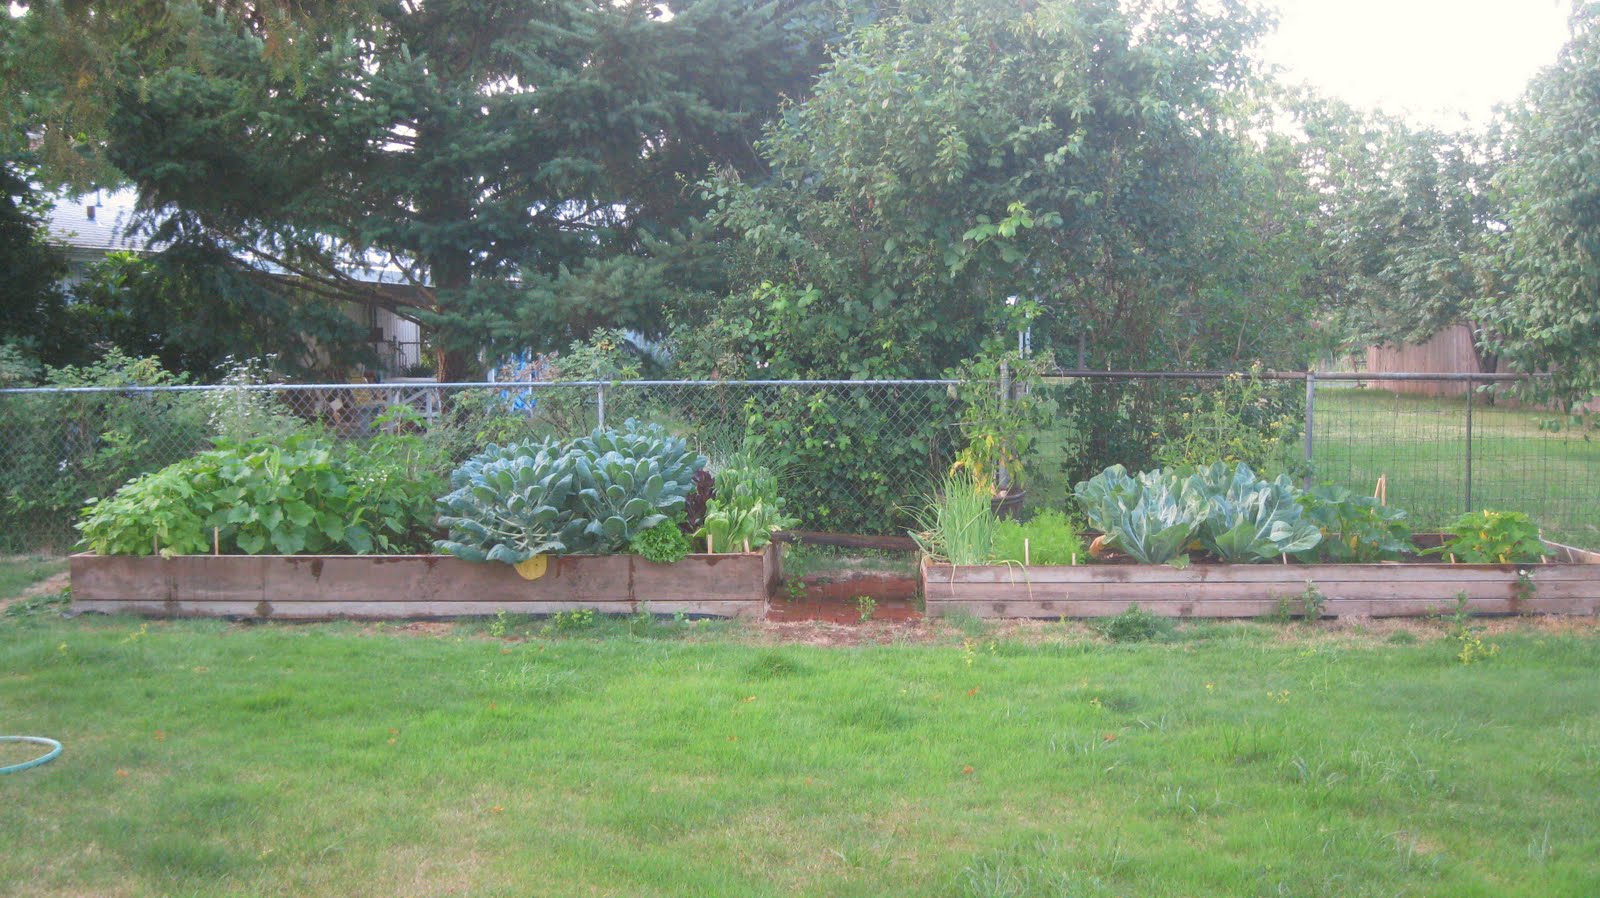
I was looking back at my previous blog posts to print out our to-do list before my mom gets here in August and saw the pictures of our garden from when we first planted everything. I cannot believe how full our planters are now! I thought I would update you on how well everything is doing.
Can you believe that? Terrible picture aside, the veggies are clearly taking over!

YUM!